Why Homemade Coconut Butter is Better Than Store-Bought
There's a special kind of magic that happens when you taste truly exceptional food. And for many, that magic is found in coconut butter. Imagine a rich, creamy spread so smooth it melts effortlessly on your tongue, with a subtle sweetness that evokes the indulgent warmth of shortbread rather than an overpowering coconut flavor. It’s no wonder people describe it as one of the most delicious foods on the planet, often captivating even those who typically shy away from coconut. This delightful spread, packed with healthy fats and nutrients, has become a pantry staple for many health-conscious foodies and dessert lovers alike.
However, the love affair with coconut butter often comes with a hefty price tag. A single jar of gourmet coconut butter can easily set you back $10 or more, making it an expensive habit if you find yourself, like many, reaching for it daily. The good news? You absolutely do not need to rely on store-bought versions to enjoy this decadent treat. The simple, empowering solution is to learn
how to make coconut butter right in your own kitchen. Not only is it incredibly easy, but the homemade variety offers a myriad of benefits that far outweigh its commercial counterparts.
The Unbeatable Advantages of DIY Coconut Butter
Opting to make your own coconut butter isn't just a fun kitchen experiment; it's a savvy choice that brings significant advantages to your table and your wallet.
- Unrivaled Cost Savings: This is arguably the most compelling reason to go DIY. While a store-bought jar costs upwards of $10, you can produce the same amount of luscious coconut butter at home for a mere fraction of the price. The only core ingredient you need is shredded coconut, which is incredibly affordable, especially when purchased in bulk. Over time, these savings add up substantially, making your coconut butter indulgence much more sustainable.
- Complete Ingredient Control: When you buy coconut butter from a store, you're trusting the manufacturer's ingredient list. Often, commercial versions can contain added sugars, emulsifiers, or preservatives you might prefer to avoid. When you make it yourself, you have absolute control. Your homemade coconut butter will be made with just one pure ingredient: shredded coconut. This ensures you're consuming only the wholesome goodness of the coconut flesh, free from any unwanted extras.
- Superior Freshness and Flavor: There’s an undeniable difference in taste between something freshly made and its processed, shelf-stable equivalent. Homemade coconut butter boasts a vibrant, rich flavor and an incredibly smooth, melt-in-your-mouth texture that often surpasses store-bought brands. The oils are freshly released, and the natural coconut essence shines through without being dulled by sitting on a shelf for months. It truly captures the creamy, slightly sweet essence of fresh coconut in a way that’s hard to replicate commercially.
- Endless Customization Potential: This is where your creativity can truly flourish. Store-bought coconut butter usually comes in standard flavors, but at home, you're the chef. Once your basic coconut butter is ready, you can easily stir in natural sweeteners like maple syrup, honey, or a few drops of stevia. Craving a chocolatey treat? Add some cocoa powder or cacao. A pinch of sea salt, a dash of vanilla extract, or even a hint of cinnamon can elevate your creation to new heights. The possibilities are limited only by your imagination, allowing you to tailor every batch to your exact preferences.
Unlocking the Magic: How to Make Coconut Butter at Home
The idea of making your own nut or seed butter can sound daunting, but when it comes to learning
how to make coconut butter, you'll be amazed by its deceptive simplicity. It’s truly a one-ingredient wonder that transforms magically before your eyes.
What You'll Need:
- 12-16 ounces (approx. 340-450g) of Unsweetened Shredded Coconut: This is the star of the show. It's crucial to use *regular, unsweetened* shredded or flaked coconut. Low-fat varieties don't contain enough natural oil to properly transform, and sweetened versions will alter the taste and texture. Aim for at least 12 ounces for optimal results, as smaller quantities can sometimes struggle to process effectively in larger machines.
- Optional Additions:
- 2-4 tablespoons Coconut Oil: Essential for troubleshooting (more on this below!).
- Sweetener of Choice: Maple syrup, honey, liquid stevia, or a granulated sweetener like erythritol if you desire a sweeter spread.
- Cocoa Powder or Cacao: For a delightful chocolate version.
- Other Flavorings: Vanilla extract, cinnamon, a pinch of salt.
The Essential Equipment:
A high-powered blender (like a Vitamix or Blendtec) or a robust food processor is your best friend here. These machines have the power to break down the coconut and release its natural oils effectively. While some adventurous home cooks have reported success with smaller appliances like an immersion blender or a Magic Bullet for tiny batches, a high-speed blender or food processor generally yields the smoothest, most consistent results.
The Step-by-Step Transformation:
- Load Your Machine: Pour all of your unsweetened shredded coconut into the bowl of your food processor or the jar of your high-speed blender.
- Begin Blending: Start blending on a medium-high setting. Initially, the coconut will look like fine flour, then it will turn clumpy as it breaks down.
- Scrape and Continue: Stop the machine periodically (every 1-2 minutes) to scrape down the sides of the bowl or jar. This ensures all the coconut is evenly processed and helps prevent the motor from overheating. You’ll notice the texture changing as the natural oils begin to release.
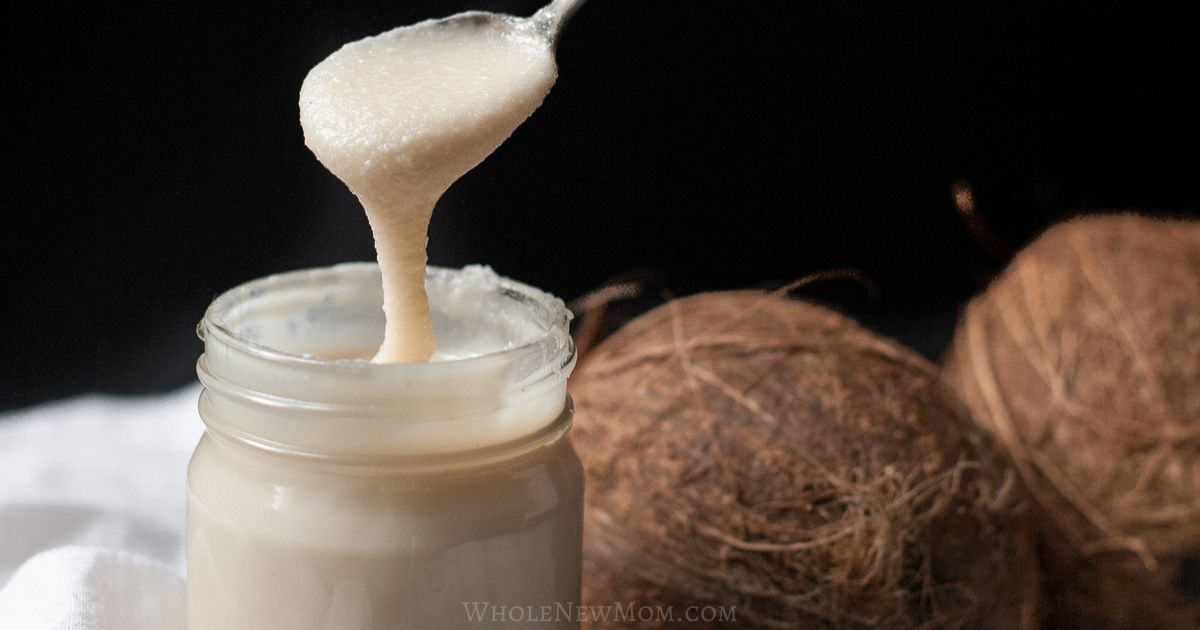
- Watch the Magic Unfold: Keep blending and scraping. The coconut will progress from powdery, to clumpy, to a thick paste, and finally, into a smooth, creamy, liquid butter. This entire process can take anywhere from 3 to 18 minutes, depending on the power of your machine, the quality of your coconut, and your desired level of smoothness. Be patient; the transformation is worth it!
- Taste and Customize (Optional): Once you’ve achieved your desired smooth, buttery consistency, stop the machine. Now is the time to stir in any optional sweeteners, cocoa powder, or other flavorings. Blend again briefly to incorporate them fully.
Troubleshooting Common Issues:
Even with the best intentions, sometimes your coconut just doesn’t want to cooperate. Don't fret – these simple fixes will save the day:
- It's Too Dry/Not Turning Buttery: If your coconut seems stuck in a pasty, dry stage and isn't releasing its oils, it might be due to a naturally lower-fat batch of coconut, climate, or elevation. Simply add 2-4 tablespoons of coconut oil to the blender. This extra fat will lubricate the process and help the machine achieve that coveted creamy texture. Continue blending until smooth.
- Solid at Room Temperature: Coconut butter is naturally solid at cooler room temperatures due to its high saturated fat content. If you need it in a pourable or spreadable form, gently heat the jar in a bowl of warm water or microwave it in short bursts (15-30 seconds), stirring well in between, until it liquefies. Be careful not to overheat or burn it.
- Melted Butter Seems Too Dry: If you've melted your coconut butter and it still seems a bit too thick or dry, stir in a tiny bit more coconut oil to achieve your desired consistency.
Storage:
Once your perfect batch of homemade coconut butter is ready, transfer it to a clean, airtight container. It can be stored at room temperature for several months, with no refrigeration required. Just like a good relationship, it only gets better with time!
Beyond the Jar: Creative Ways to Enjoy Your Homemade Coconut Butter
Now that you've mastered
this easy recipe for delicious savings, what do you do with it? The versatility of homemade coconut butter knows no bounds:
- Straight from the Spoon: The simplest pleasure – just dig in!
- On Toast or Fruit: Spread it thickly on warm toast, bagels, rice cakes, or apple slices for a satisfying snack.
- In Smoothies and Oatmeal: Add a tablespoon or two to your morning smoothie for a creamy texture and healthy fats, or stir it into warm oatmeal for an instant upgrade.
- Baking and Desserts: Use it in no-bake energy balls, as a frosting for cakes or cupcakes (especially delicious for vegan recipes), in homemade candies, or as a base for dairy-free fudge.
- Savory Dishes: While often associated with sweets, coconut butter can also add richness to savory curries, soups, or sauces, lending a subtle creamy texture and delicate coconut flavor.
- As a Coffee Creamer: Stir a teaspoon into your hot coffee for a decadent, dairy-free creamer.
The Nutritional Powerhouse You're Making
Beyond its incredible taste and versatility, homemade coconut butter is a nutritional marvel. Made from the pure, raw flesh of the coconut, it’s packed with healthy medium-chain triglycerides (MCTs), which are easily digestible and provide a quick source of energy. It also contains essential minerals like manganese, copper, and iron, contributing to overall well-being. By making it at home, you ensure you're getting all these benefits in their purest, unadulterated form.
Making your own coconut butter is a rewarding experience that combines economic savvy with culinary delight. You gain control over ingredients, save a significant amount of money, and unlock a world of fresh, customizable flavor that store-bought options simply can't match. So, ditch the expensive jars and embrace the simplicity of creating this luxurious spread in your own kitchen. You’ll quickly discover why
homemade coconut butter is undeniably better, and you'll wonder why you ever bought it pre-made!