Unlocking Creamy Perfection: Why Make Your Own Coconut Butter?
Imagine a spread so rich, so smooth, and so utterly decadent that it feels less like coconut and more like a melt-in-your-mouth shortbread. That's the magic of coconut butter, and here's the best part: you can make it at home with just one ingredient. If you've ever wondered how to make coconut butter, prepare to be amazed by its simplicity and the incredible savings it offers.
Store-bought coconut butter can be a delightful indulgence, but at an average of $10 or more per jar, that indulgence quickly becomes an expensive habit. Many enthusiasts find themselves going through half a jar in a day! The good news is that creating this creamy delight in your own kitchen yields the same luxurious product for a mere fraction of the cost. Not only will you save a significant amount of money over time, but you'll also gain the satisfaction of crafting a pure, wholesome spread free from any unwanted additives. For a deeper dive into the advantages, check out our article on Why Homemade Coconut Butter is Better Than Store-Bought.
The Essential Ingredient: Shredded Coconut
The secret to perfect coconut butter lies in its singular, humble ingredient: shredded coconut. But not just any shredded coconut will do. For optimal results, it’s crucial to select regular, unsweetened shredded coconut. This is paramount because the natural oils present in the coconut meat are what transform it into butter through friction and heat in your blender.
Avoid varieties labeled "low-fat" or those with added sugars. Low-fat coconut simply doesn't contain enough of the essential natural oils to achieve that creamy, buttery consistency, often resulting in a dry, crumbly paste that refuses to fully emulsify. Sweetened varieties introduce unnecessary sugars and can also alter the texture. While you can add sweeteners later, starting with pure, unsweetened coconut gives you full control over the final flavor profile.
For best results, especially with standard food processors or high-speed blenders, aim for at least 12 ounces of shredded coconut. A larger volume (12-16 oz is ideal) helps the blades catch the coconut more effectively, generating the necessary friction and heat to release the oils and create a smoother, faster transformation. This quantity also prevents the mixture from simply clinging to the sides without processing properly.
Your Step-by-Step Guide: How to Make Coconut Butter at Home
The process of how to make coconut butter is surprisingly straightforward, relying primarily on the power of your kitchen appliance and a little patience. Once you've mastered it, you'll wonder why you ever bought it!
Equipment You'll Need:
- High-Speed Blender: A powerful appliance like a Vitamix or Blendtec is highly recommended. These machines are designed to handle tough ingredients and generate the friction needed quickly, often completing the process in just a few minutes.
- Food Processor: A sturdy food processor is also an excellent choice, especially if you don't own a high-speed blender. It may take a bit longer but will yield equally fantastic results.
- Spatula: Essential for scraping down the sides of your blender or food processor to ensure even processing.
- Optional: Some readers have reported success with smaller batches using an immersion blender or a Magic Bullet, though these methods might require more patience and smaller quantities of coconut.
The Simple Process:
- Load Your Machine: Pour your 12-16 ounces of unsweetened shredded coconut into your chosen appliance. Ensure the lid is securely fastened.
- Begin Blending: Start blending on a low speed, gradually increasing to high. The coconut will initially transform into a coarse flour. This is normal and the first stage of the magical transformation.
- Scrape and Continue: As the coconut begins to process, it will likely cling to the sides of the container. Periodically stop your machine and use your spatula to scrape down the sides, pushing the coconut back towards the blades. This ensures all the coconut is evenly processed and helps prevent your motor from overheating.
- Observe the Transformation: The mixture will go through several stages:
- Flour: Dry, finely ground coconut.
- Sticky Ball/Paste: The coconut will start to clump together as oils begin to release, forming a thick, somewhat dry paste or a sticky ball.
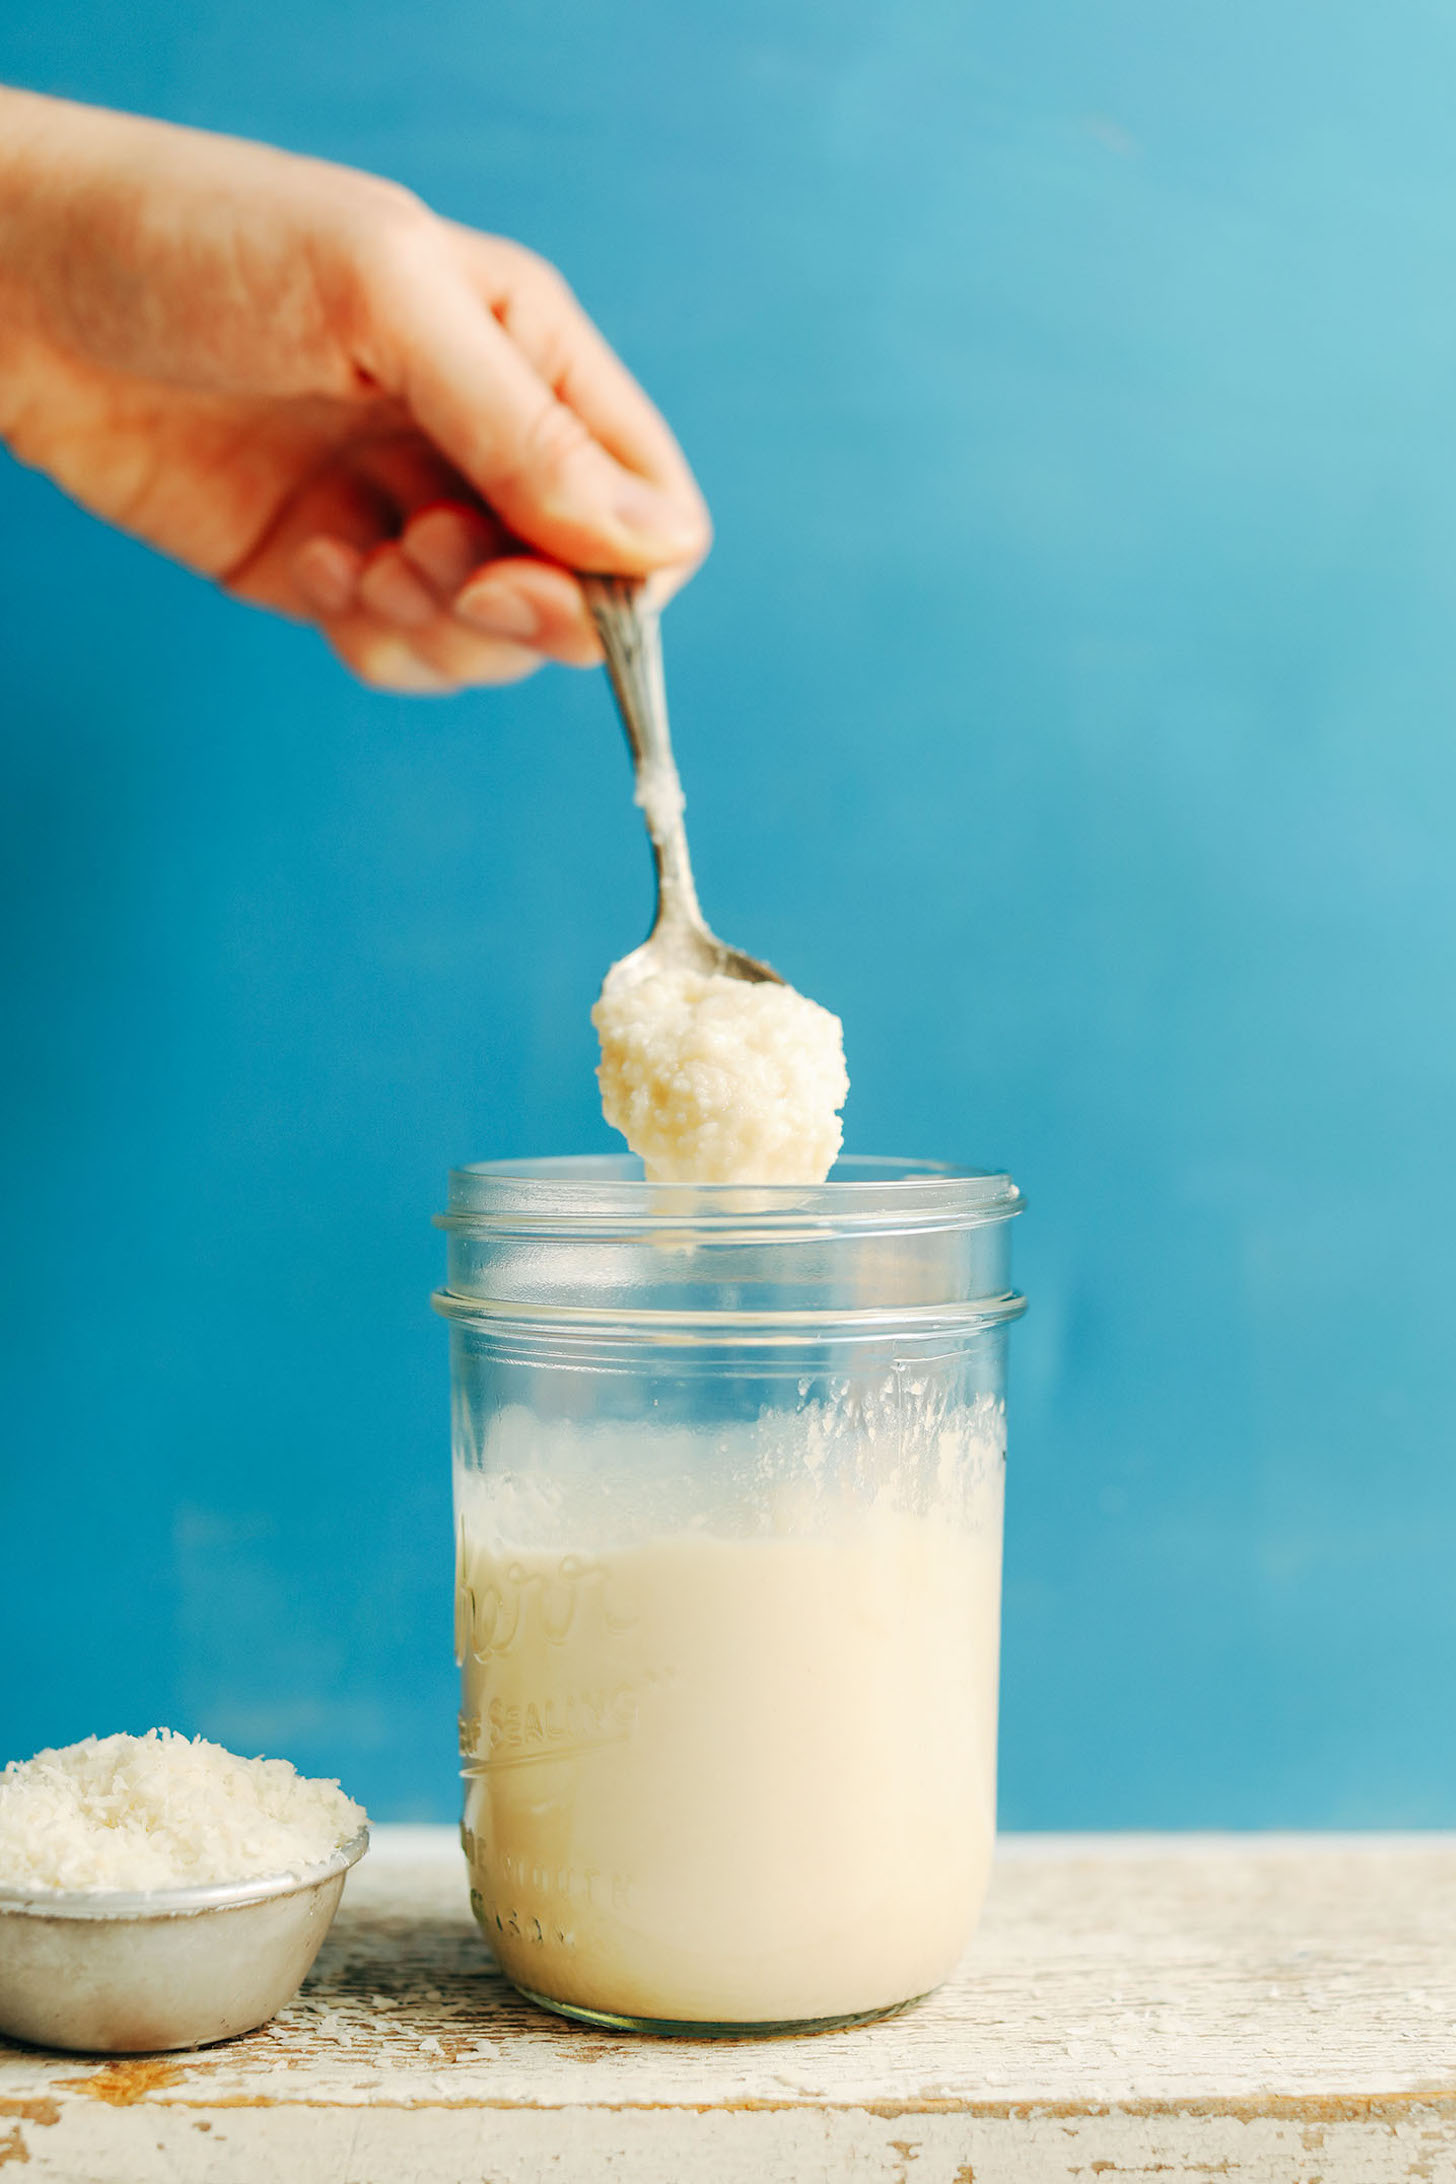
- Thick Liquid/Butter: As you continue blending, the friction will release more and more oils, and the paste will become increasingly smooth, transforming into a thick, liquid "butter" that pours or flows. This is the desired consistency.
- Patience is Key: The entire process can take anywhere from 3 minutes with a very powerful high-speed blender to 18 minutes or more with a less powerful machine or food processor. Don't be discouraged if it takes time; the key is to keep blending and scraping until it reaches your desired silky smoothness. You'll know it's ready when it's completely smooth and pourable, with no gritty texture remaining.
Mastering Your Homemade Coconut Butter: Tips, Tricks, and Troubleshooting
Making coconut butter is generally straightforward, but a few insider tips can elevate your experience and help you navigate any potential hiccups.
When It's Not Smoothing: A Troubleshooting Lifesaver
Occasionally, you might encounter a batch of shredded coconut that just refuses to turn into smooth butter. This can happen due to various factors, such as ambient climate, elevation, or simply a naturally lower-fat bag of coconut. If your coconut mixture remains stubbornly dry or pasty even after significant blending and scraping, don't despair!
The solution is simple: add a few tablespoons (2-4 tbsp) of extra virgin coconut oil to your blender. This provides the necessary boost of fat to help the mixture emulsify and smooth out. Continue blending, and you'll often find that the addition of a little extra oil quickly fixes the problem, turning that stubborn paste into creamy perfection.
Storage and Shelf Life:
Once your coconut butter is gloriously smooth, transfer it to a clean, airtight container. It needs no refrigeration and will last for a few months when stored at room temperature. Its natural properties mean it will be solid at room temperature, but it will easily melt back into a spreadable consistency when gently heated. To melt, you can place the jar in a bowl of warm water, use a double boiler, or gently microwave it in short bursts, stirring frequently. If it appears a little dry after melting, stirring in a small amount of additional coconut oil can restore its luscious texture. This simple process makes DIY Coconut Butter: Easy Recipe for Delicious Savings even more appealing!
Flavor Variations:
One of the joys of making your own coconut butter is the ability to customize its flavor. Once your butter is fully blended, you can get creative:
- Sweetener: Add a touch of natural sweetener like maple syrup, honey, or a few drops of liquid stevia to taste. Blend briefly to combine.
- Chocolate Bliss: For a decadent treat, mix in 1-2 tablespoons of unsweetened cocoa powder. This creates a rich, chocolate-infused coconut butter that's divine.
- Spices & Extracts: A pinch of cinnamon, cardamom, or a splash of vanilla extract can add wonderful depth and aroma.
Beyond the Jar: Delicious Ways to Enjoy Your Coconut Butter
Your freshly made coconut butter is incredibly versatile and can be enjoyed in countless ways. Its unique texture and flavor make it a fantastic addition to both sweet and savory dishes:
- Straight from the Spoon: Let's be honest, this is often the first (and best) way to enjoy it. It's truly a treat on its own!
- Toast & Spreads: Spread it thickly on warm toast, pancakes, waffles, or muffins for a luxurious, coconutty twist.
- Smoothie Booster: Add a spoonful to your morning smoothie for healthy fats, added creaminess, and a subtle coconut flavor.
- Oatmeal & Yogurt: Swirl it into your hot oatmeal or mix it into a bowl of yogurt with granola for an extra layer of richness.
- Baking & Desserts: Incorporate it into homemade energy balls, raw desserts, cookies, or even use it as a base for dairy-free frostings.
- Savory Dishes: Believe it or not, coconut butter adds a wonderful depth and creamy texture to curries, sauces, and stews, especially in Asian and South Indian cuisines.
Conclusion
Learning how to make coconut butter is a simple skill that delivers immense rewards. With just one ingredient and a few minutes in your blender, you can transform humble shredded coconut into a velvety, nutritious, and incredibly delicious spread. Not only will you save money, but you'll also enjoy the unparalleled freshness and purity of a homemade product. So, grab your shredded coconut, fire up your blender, and prepare to elevate your culinary game with this creamy, dreamy perfection!
