Imagine a spread so rich, so smooth, and so exquisitely delicious that it tastes more like shortbread than a coconut product. Now imagine whipping up this culinary delight in your own kitchen for a fraction of the cost of store-bought alternatives. Sounds like a dream, right? Welcome to the wonderful world of homemade coconut butter! This comprehensive guide will show you how to make coconut butter that’s not only incredibly tasty but also incredibly simple to prepare, saving you a significant amount of money in the long run.
For many, coconut butter is an indulgence, a creamy, melt-in-your-mouth treat that's hard to resist. Yet, a single jar can set you back $10 or more, making it an expensive habit. The good news? The solution is as simple as it is satisfying: make your own! With just one essential ingredient and the right tools, you'll discover that why homemade coconut butter is better than store-bought in both taste and price. Prepare to transform humble shredded coconut into a magical, spreadable butter that will revolutionize your pantry.
The Irresistible Allure of Homemade Coconut Butter
If you've ever tasted coconut butter, you know its unique charm. It’s not coconut oil, nor is it plain shredded coconut. It’s something entirely different – a finely ground paste where the natural oils are released, creating a luscious, velvety texture that's solid at room temperature but melts beautifully when gently warmed. The flavor profile is often described as subtly sweet and incredibly satisfying, reminiscent of shortbread cookies. Even those who aren't typically fans of coconut often fall in love with its smooth, rich taste.
Beyond its undeniable deliciousness, making your own coconut butter offers significant advantages. Primarily, it's about cost savings. Store-bought coconut butter often carries a hefty price tag due to processing and packaging. By contrast, a large bag of shredded coconut, the sole ingredient, is remarkably affordable. You can produce the same quantity for mere dollars, translating to substantial savings over time. Furthermore, crafting it yourself ensures you're using only the purest ingredients, free from any unwanted additives or preservatives. It’s a pure, raw, nutrient-dense spread packed with healthy fats, essential minerals, and vital nutrients, perfect for enhancing your daily diet.
The Simple Ingredients and Essential Tools
The beauty of this DIY project lies in its minimalist approach. You truly only need one core ingredient, though a few optional additions can elevate your creation. Understanding the right choices will ensure your success in learning how to make coconut butter.
Ingredients:
- 12-16 ounces (approximately 340-450g) unsweetened shredded coconut: This is the star of the show. We emphasize "unsweetened" because added sugars can interfere with the buttering process and alter the final flavor. Crucially, choose "regular" shredded coconut, not low-fat varieties. Low-fat coconut simply doesn't contain enough natural oil to properly transform into butter, often resulting in a dry, crumbly mixture.
- Optional: 2-4 tablespoons refined or virgin coconut oil: While usually not necessary with good quality coconut, a little extra oil can be a lifesaver if your coconut is struggling to butter up, especially if it's naturally lower in fat or if your climate is particularly dry.
- Optional: Sweetener of choice: A drizzle of maple syrup, a touch of honey, or a few drops of stevia can enhance the natural sweetness of the coconut if desired. Add this at the very end.
- Optional: Cocoa powder or other flavorings: For a chocolatey twist, add unsweetened cocoa powder. Other delicious additions could include vanilla extract, cinnamon, or even a pinch of sea salt. Add these after the butter is formed.
Essential Tools:
- High-speed blender or food processor: This is non-negotiable for success. A powerful machine is needed to break down the coconut fibers and release its natural oils.
- High-speed blenders (e.g., Vitamix, Blendtec): Often the quickest option, capable of transforming coconut into butter in as little as 3-5 minutes due to their powerful motors and sharp blades.
- Food processors: Take a bit longer, typically 10-18 minutes, but are equally effective. Ensure you have a strong motor and a sharp S-blade.
- Immersion blenders or Magic Bullet-style blenders: While some users have reported success with smaller batches, these typically lack the consistent power needed for larger quantities and may struggle to achieve the desired smoothness. If attempting, use a very small amount of coconut.
- Spatula or tamper: Essential for scraping down the sides of your blender or food processor to ensure even processing and prevent the mixture from getting stuck.
- Airtight container: For storing your finished coconut butter.
Step-by-Step Guide: How to Make Coconut Butter
Ready to embark on your culinary adventure? Here's the detailed process for how to make coconut butter at home:
1. Prepare Your Coconut:
Ensure your shredded coconut is unsweetened and of the regular-fat variety. Measure out at least 12 ounces for optimal results. While smaller quantities can sometimes work, a larger volume helps the blades catch and process the coconut more efficiently, reducing processing time and effort.
2. Load Your Machine:
Pour all of the shredded coconut into your high-speed blender or food processor. If using a high-speed blender, ensure it’s securely sealed. If using a food processor, make sure the S-blade is properly installed.
3. Begin Blending/Processing:
Start your machine on a low speed, gradually increasing to high. The coconut will go through several stages:
- Stage 1: Fluffy Shreds (1-3 minutes): The coconut will simply look like finer shredded coconut.
- Stage 2: Powder (3-6 minutes): It will transform into a powdery, flour-like consistency.
- Stage 3: Sticky Paste (6-10 minutes): The natural oils will begin to release, causing the powder to clump together into a sticky, coarse paste. At this stage, you'll need to stop the machine and scrape down the sides frequently with your spatula to ensure all the coconut is incorporated.
- Stage 4: Thick Butter (10-15 minutes, or less for high-speed blenders): As more oils are released, the paste will become smoother and creamier, resembling thick nut butter. Continue to blend, scraping down the sides as needed.
- Stage 5: Silky Smooth Butter (15-18 minutes, or 5-8 minutes for high-speed blenders): Finally, the mixture will become perfectly smooth, liquidy, and pourable (especially while warm from the friction). This is your finished coconut butter!
4. Troubleshooting (If Needed):
If, after a good 10-15 minutes, your coconut butter isn't getting as smooth or creamy as you'd like (this can happen due to climate, elevation, or a naturally lower-fat bag of coconut), don't despair! Add 2-4 tablespoons of coconut oil to the blender and continue processing. This will almost always help push it over the edge to that desired silky consistency.
5. Flavor and Sweeten (Optional):
Once your coconut butter is beautifully smooth, you can add any optional sweeteners or flavorings. If adding cocoa powder, start with 1-2 tablespoons and blend until fully incorporated. Taste and adjust as desired.
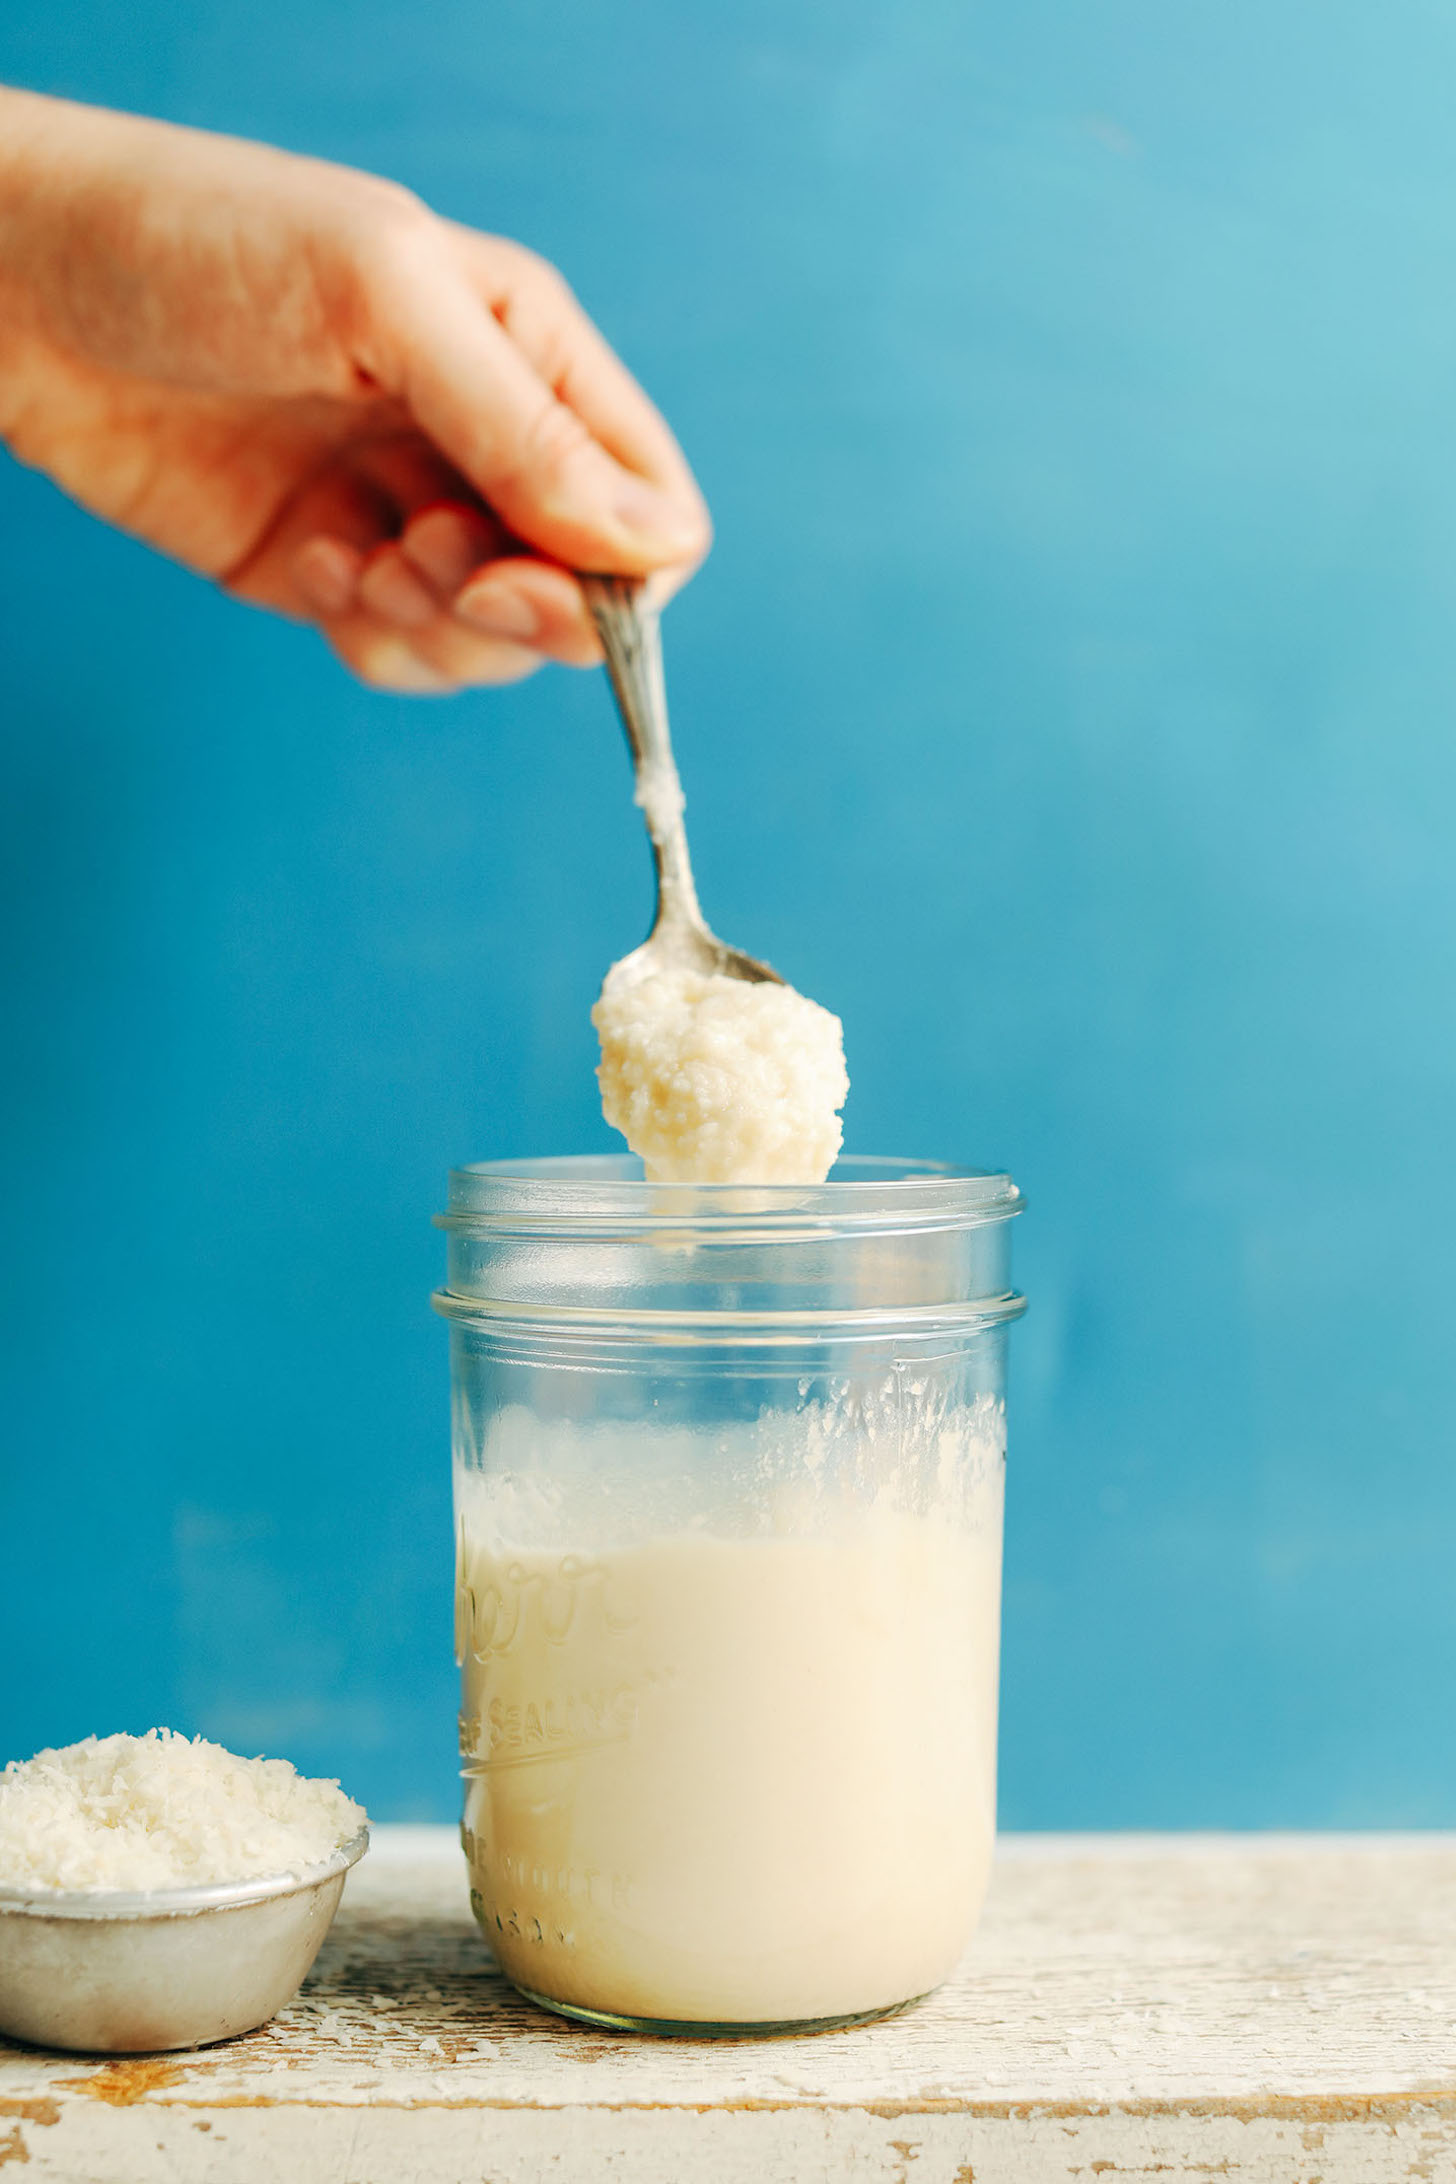
6. Transfer and Store:
Carefully spoon your fresh coconut butter into a clean, airtight container. It will be liquid while warm from blending, but will solidify into a spreadable consistency at room temperature. No refrigeration is needed; it will last for several months in your pantry.
Expert Tips for Perfect Coconut Butter Every Time
Achieving consistently perfect homemade coconut butter involves a few nuanced tricks. Here are some insights to help you master the process:
- Heat is Your Friend (and Foe): The friction from blending generates heat, which helps release the oils. However, if your machine gets too hot, it can potentially affect the flavor or even damage your equipment. If you notice your blender or food processor getting excessively warm, give it a short break (5-10 minutes) before resuming.
- Scrape, Scrape, Scrape: This cannot be overemphasized. Especially with food processors, coconut tends to climb the sides of the bowl. Frequent scraping ensures all the coconut is processed evenly and prevents dry spots. Use a tamper for high-speed blenders to push down the mixture towards the blades.
- Quantity Matters: As mentioned, starting with at least 12 ounces of shredded coconut is ideal. Too small a quantity might prevent the blades from adequately catching the coconut, making it harder to process into a smooth butter.
- The "Magic" of Coconut Oil: Don't hesitate to use those 2-4 tablespoons of extra coconut oil if your batch is stubborn. It's a simple, effective fix for dry or clumpy butter and won't noticeably alter the taste.
- Reheating for Smoothness: Coconut butter is naturally solid at room temperature. If you want to use it as a drizzle or for baking, gently warm it. A double boiler or a microwave on low heat in short bursts (15-30 seconds) works well. Be careful not to overheat or burn it. If it seems too thick or dry even when melted, stirring in a little extra coconut oil can restore its perfect consistency.
- Creative Uses: Beyond eating it straight from the jar (which is highly recommended!), coconut butter is incredibly versatile. Swirl it into oatmeal, smoothies, or yogurt. Use it as a topping for pancakes or waffles. Incorporate it into homemade energy bars, truffles, or other raw desserts for a rich, creamy texture and delightful flavor. It can even be a delicious addition to savory dishes like curries or soups, adding a subtle richness.
Conclusion
Making your own DIY coconut butter is a rewarding experience that offers both delicious results and significant savings. With just one simple ingredient and the power of your blender or food processor, you can create a creamy, melt-in-your-mouth spread that rivals (and often surpasses) expensive store-bought versions. Now that you know how to make coconut butter, you're empowered to enjoy this versatile treat whenever you like, customize it to your taste, and truly savor the satisfaction of homemade goodness. So go ahead, give it a try – your taste buds and your wallet will thank you!
